A website migration checklist helps you protect traffic, rankings, and user experience when moving to a new domain, platform, hosting provider, or site structure.
At minimum, your checklist should cover URL mapping, redirects, metadata, analytics tracking, sitemap submission, visual review, broken-link testing, and post-launch monitoring.
Why Website Migrations Require Careful Planning
Website migrations involve moving a site between domains, hosting providers, or content management systems while preserving search rankings and user experience. They often happen because of platform upgrades, hosting performance issues, domain rebranding, or CMS changes.
Unplanned migrations can lead to traffic drops and weeks of recovery time. A business moving a custom-built site to Webflow without proper URL mapping might lose months of SEO progress if key pages return 404 errors.
Systematic checklists reduce migration risks by ensuring no critical steps are overlooked during the transition process. This comprehensive approach treats SEO preservation and user experience improvements as equally important goals.
Step 1: Audit Your Current Website Structure
Before starting a migration, you need a clear picture of what’s on your site. Many teams underestimate the number of pages they have, especially those not listed in the sitemap.
Run a full site scan to capture every page, not just those listed in the XML sitemap. Export URLs along with meta titles, descriptions, and internal links. This creates the foundation for accurate redirect mapping.
Document top-performing pages, conversion paths, and key user journeys so they continue to work after migration. Also record current performance benchmarks such as Core Web Vitals scores, load times, and Google Search Console data for comparison once the migration is complete.
Export analytics baselines such as traffic sources, conversion rates, and user behavior. These help you compare performance before and after migration.
According to Google’s Migration Guidelines, a thorough site audit helps reduce the risk of losing critical pages.
Tools for Comprehensive Site Auditing
No-code website tools let you scan an entire site without technical setup or APIs. These scans can create a baseline, which forms the basis for post-migration checks.
Most no-code tools focus on a single area, such as functional testing or basic SEO checks. Teams often need multiple tools stitched together to build a complete baseline.
Sitepager takes a broader approach. It starts with a single website scan and runs multiple checks in one pass. From that scan, you get unified reports that include:
- Visual baselines
- SEO validation
- Broken links
- Lighthouse audit reports
After the migration, run the same review again to compare the new site against the baseline and identify pages that need attention. For a detailed walkthrough of reviewing a large Webflow migration before launch, see the step-by-step guide.
Key Takeaways:
- Run complete scans to capture all pages, including those missing from sitemaps
- Export site data such as URLs, metadata, and internal links for redirect planning
- Set performance baselines for traffic and Core Web Vitals post-migration checks
Step 2: Define Migration Goals and Backups
Many teams start technical work without defining what “success” means, which makes it hard to measure migration effectiveness.
Set clear goals for traffic retention and Core Web Vitals. For example, aim to retain most of your organic traffic after the migration and define a recovery timeline for any temporary drops.
Create complete backups before starting. This includes:
- Database exports (user accounts, content, custom fields, CMS settings)
- Media files (with original names and folder structures to protect internal links)
Use a staging environment for testing so migration changes do not impact the live site or user experience.
WordPress.org backup guidelines recommend using multiple backup methods, including database exports and file-level copies, to ensure nothing is lost.
Key Takeaways:
- Set measurable goals for traffic and performance
- Back up everything including databases, files, and configurations with multiple storage locations
- Use staging to test safely before going live
Step 3: Configure DNS, Hosting, and Tracking
The technical setup can feel complex when dealing with DNS records, SSL certificates, and tracking codes. These are also core parts of any SEO site migration checklist, because errors here can block crawlers or cause ranking losses.
- DNS configuration: Set up A records, CNAME records, and MX records so the domain resolves correctly. If DNS fails, search engines cannot crawl your site.
- SSL certificate: Install SSL before making DNS changes to prevent browser warnings and ranking drops.
- Analytics tracking: Add GA4 or Tag Manager in staging to confirm that data is being collected correctly before launch.
- Search Console verification: Verify the new domain in Google Search Console to enable fast indexing and error monitoring.
- CDN configuration: Use a Content Delivery Network (CDN) for faster global load times, but manage caching carefully during migration.
Google’s HTTPS guidance highlights the importance of completing SSL setup before domain changes.
DNS Management Best Practices
- Lower TTL (Time To Live) values to 300 seconds before migration. This ensures DNS updates take effect quickly.
- Allow for 24–48 hours of DNS propagation globally when scheduling your migration.
Key Takeaways:
- Configure DNS and SSL early to avoid accessibility or ranking issues.
- Test analytics tracking in staging to confirm accurate data collection.
- Verify the domain in Search Console for indexing and monitoring support.
Step 4: Protect SEO with Redirects and Metadata
SEO losses during migration usually come from redirect errors or missing metadata. Careful planning avoids these pitfalls.
Use the URL mapping document created during the audit to pair every old URL with its new location. Use 301 redirects for permanent moves. Avoid redirect chains (A → B → C) since they slow load times and may weaken SEO value. For example, an online retailer migrating to category-based product searches could map product URLs from /products/item-name to /shop/category/item-name with direct 301 redirects. This ensures proper SEO value is passed to the new URLs.
Google’s redirect documentation confirms that 301 redirects pass nearly all ranking signals when implemented correctly.
Preserve meta titles, descriptions, and header tags to maintain search engines’ understanding of page content. Also transfer schema markup and structured data to the new pages to preserve rich snippet eligibility.
Update internal links to point directly to new URLs instead of routing through redirects.
Advanced Redirect Strategy
Not all redirects are the same. The right strategy depends on the type of content and the scale of your migration.
- Wildcard redirects can handle large sections of a site, but they must be tested carefully. A misconfigured rule can create redirect loops or send users to irrelevant pages.
- Pattern-based redirects work well for predictable structures, like blog posts or date-based URLs. For example, a blog could use pattern-based redirects to move URLs from /year/month/post-title to /category/post-title.
- Individual 301s should be used for your most valuable pages where precision matters.
- Always add a custom 404 page to guide users when no redirect exists.
Redirect Types Overview
| Redirect Type | Best For | Implementation Risk |
|---|---|---|
| Individual 301s | Critical pages, products, high-traffic content | Low |
| Pattern-based | Blog posts, category structures, date-based URLs | Medium |
| Wildcard rules | Large sections, similar URL structures | High |
Choosing the right mix often means combining these approaches. Use individual 301s for critical content, pattern-based rules for structured areas, and wildcard redirects only when absolutely necessary.
Key Takeaways:
- Map all URLs to new locations with direct 301 redirects
- Preserve metadata and structured data to maintain SEO signals
- Update internal links so they point to final URLs, not redirects
- Use the right redirect type for the situation, testing thoroughly to avoid loops
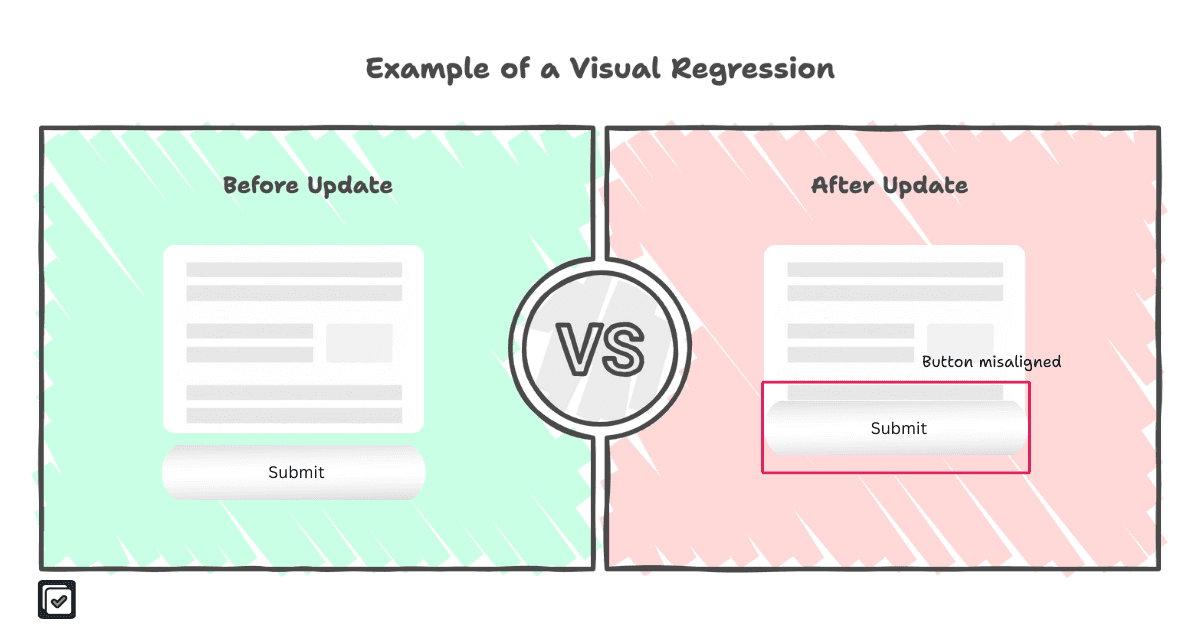
Step 5: Validate UX, Visual Consistency, and Performance
After the technical setup, review how the new website looks and works before launch. A migration can introduce issues that are easy to miss when checking only URLs, redirects, and metadata.
Start with the pages and user journeys that matter most. Test navigation menus, dropdowns, CTAs, search features, and contact forms. Review the site on desktop and mobile to catch layout shifts, missing images, formatting issues, and elements that do not work as expected.
Also check the site across leading browsers such as Chrome, Firefox, Safari, and Edge. A page that looks correct in one browser may still have layout or interaction issues in another.
Compare performance before and after the migration. Review Core Web Vitals such as Largest Contentful Paint, Interaction to Next Paint, and Cumulative Layout Shift against the benchmarks captured in Step 1.
Google’s Core Web Vitals documentation provides guidance on the metrics used to evaluate loading performance, interactivity, and visual stability.
How to Review More Pages Before Launch
Before launch, run a scan on staging with the migrated website and compare it against your current live site. Sitepager compares the two environments and helps you catch visual changes, broken links, missing or unexpected pages, and SEO issues introduced during the migration.
For the step-by-step Sitepager workflow, see the website migration testing guide. It shows how to scan staging, compare it with the live site, and set a new baseline after launch.
On staging, you can also set up checks for selected interactive elements, such as menus or buttons, and run optional Lighthouse audits for performance, accessibility, SEO, and best practices. Manual review is still important for forms and critical user journeys.
For a broader pre-launch review, see our guide on visual and SEO checks.
Key Takeaways:
- Test important interactive elements, including navigation menus, CTAs, forms, and search features
- Review layouts and formatting across devices and browsers
- Compare Core Web Vitals before and after the migration
Step 6: Execute Launch Day Tasks
Launch day requires tight coordination, but systematic planning helps prevent most issues.
Make DNS changes during low-traffic periods to reduce user impact while records propagate. Submit the XML sitemap to search engines immediately after launch to accelerate indexing of the new structure.
Google Search Console Help recommends immediate sitemap submission after major site changes.
Update social media profiles so branding remains consistent across all platforms after domain or design changes.
Do not forget to update third-party services such as payment processors, email marketing platforms, and integration APIs. Run real-time monitoring throughout the launch to identify and fix issues as they arise.
The goal should be to minimize disruption. For example, an e-commerce site with most of its customer base in the US could schedule its DNS change for 2 AM on a Tuesday to limit impact.
Launch Day Communication
Communication is just as important as technical execution. Prepare stakeholder notifications with timelines and potential temporary issues. Brief the customer support team so staff can handle user questions during the transition. For example, you could send advance notice to users about a two-hour maintenance window during migration.
Key Takeaways:
- Schedule during low traffic: Time DNS changes to minimize user disruption during propagation
- Submit sitemaps immediately: Accelerate search engine discovery of the new structure
- Monitor in real time: Detect and resolve issues quickly during the transition
- Communicate clearly: Notify stakeholders and prepare support teams for temporary disruptions
Step 7: Test Redirects and Indexing Post-Launch
Once the migrated site is live, confirm that visitors and search engines can reach the correct pages.
Start by testing redirects across the main sections of the site. Check that old URLs resolve to the right new pages without redirect chains or unexpected 404 errors.
Validate the XML sitemap and submit the updated version in Google Search Console. Review the Page indexing report over the following days to identify pages that are not being indexed as expected.
Also review important pages on mobile. Confirm that the mobile version renders correctly and includes the important content, metadata, and links visitors need.
Google’s documentation on mobile-first indexing explains why the mobile version of your site should receive the same level of attention as the desktop version.
Post-Launch Validation Tools
Post-launch validation usually requires a few different tools:
- Google Search Console: Review indexing issues and sitemap errors.
- Redirect testing tools: Confirm that old URLs lead to the correct new pages.
- Analytics platforms: Confirm that tracking continues to work after launch.
- Sitepager: Run a repeatable site-wide review after launch.
If the domain did not change during the migration, re-run the live-site scan from Step 1. That scan already created a baseline of the original website. The new run compares the migrated site against that baseline and highlights visual changes, broken links, new or missing pages, and SEO issues.
If the migrated website uses a new domain, compare the new domain against the previous live site and review the differences carefully.
Sitepager also surfaces pages that are not listed in the sitemap so your team can review whether they should be included.
For more details on identifying and fixing broken links, see our broken links guide.
Key Takeaways:
- Test redirects across the main sections of the site
- Submit the updated XML sitemap and review indexing reports
- Confirm that important mobile pages render correctly
- Verify that analytics tracking still works after launch
- Re-run the live-site scan or compare the new domain against the previous live site
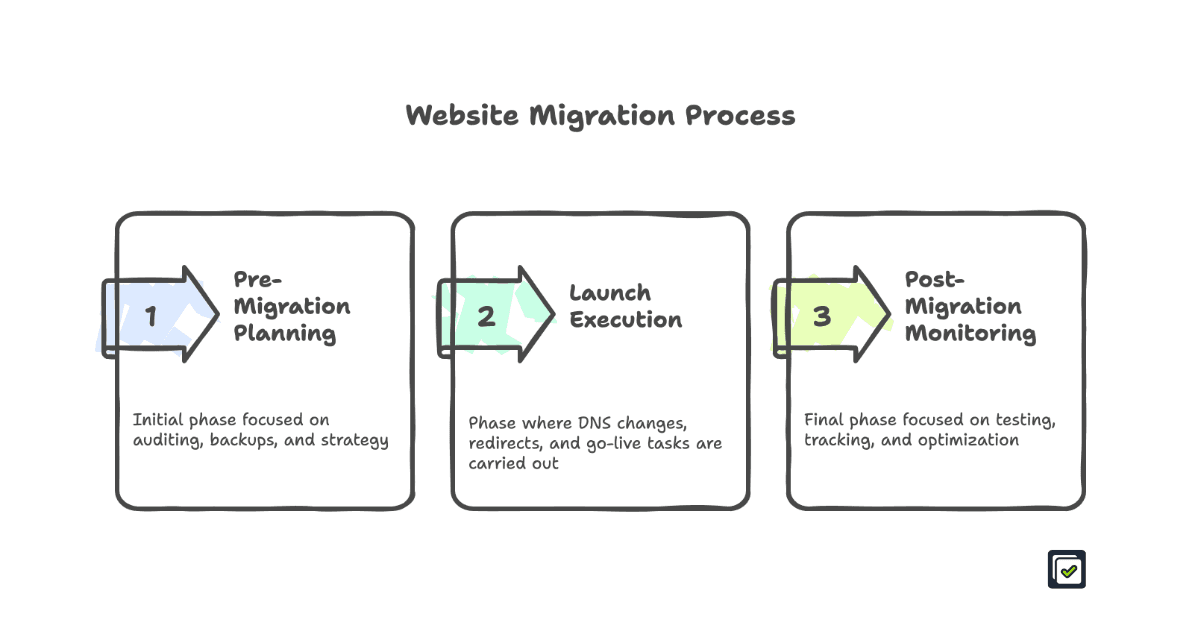
Step 8: Post-Migration Monitoring and Optimization
The weeks after a migration reveal whether your preparation paid off. Ongoing monitoring helps you identify issues that were not obvious during the initial review.
Compare analytics data from before and after the migration to track traffic and conversion trends. Monitor keyword rankings for important pages and continue tracking Core Web Vitals to identify performance improvements or regressions.
Review Google Search Console regularly for indexing errors, sitemap issues, and changes in search performance.
Also collect feedback from users and internal teams. A navigation change may make an important page harder to find, or a localized page may use wording that is unclear to visitors in that region. Feedback can reveal usability issues that planned testing may not catch.
Google’s Analytics setup guide explains how to confirm that your website is receiving analytics data.
Long-Term Optimization Strategies
After the migration, the website will continue to evolve. Teams may update landing pages, refine designs, improve content, or experiment with new ideas.
Analytics and user feedback can help identify where further improvements are needed. Use these findings to refine page layouts, navigation, content, and site structure over time.
Ongoing Monitoring Tools
Long-term monitoring requires more than a single launch-day review.
Teams commonly use:
- Analytics platforms: Compare traffic and conversion trends over time.
- Ranking trackers: Monitor keyword fluctuations and recovery trends.
- Google Search Console: Review indexing errors, sitemap issues, and search-performance changes.
- Feedback tools: Collect insights from users and internal teams.
- Regular site checks: Confirm that links, pages, SEO fields, and visual layouts remain intact as the website changes.
Once the migrated website has been reviewed and approved, set it as the new baseline in Sitepager.
Before publishing website updates, run a scan on staging and compare it against the current live site to confirm that nothing unexpected changed.
Each Sitepager review flags visual changes, broken links, new or deleted pages, and essential SEO issues. This helps teams go beyond monitoring symptoms and directly review the website as it continues to evolve.
For a broader long-term workflow, see our Website Testing: Complete Guide to Process & Checks.
Key Takeaways:
- Compare analytics, rankings, and Core Web Vitals after the migration
- Review Search Console regularly for indexing or sitemap issues
- Collect feedback to uncover usability problems
- Use analytics and feedback to guide future improvements
- Set the approved migrated site as the new baseline
- Re-run website checks after updates
Frequently Asked Questions About Website Migration
Website migrations raise plenty of questions. These are some of the most common concerns teams face during a migration.
How do I migrate a website without losing rankings?
Map old URLs to their new destinations, add 301 redirects for changed URLs, preserve important content and metadata, and update internal links. Submit the updated XML sitemap and monitor Google Search Console for indexing or redirect issues after launch.
How do I migrate a website to a new domain?
Set up the new domain, redirect old URLs to the correct pages on the new site, and verify both domains in Google Search Console. Submit the updated XML sitemap, use the Change of Address tool for a full domain move, and monitor analytics and Search Console after launch.
What is an example of a full website migration?
A business moving a custom-built site to Webflow is completing a full website migration. The project may involve rebuilding page templates, moving content into a new CMS, preserving or updating URL structures, and reconnecting forms, analytics, and other integrations.
How long does a website migration take?
The timeline depends on the size of the site and the type of migration. A smaller website may take a few weeks, while a larger site with many pages, redirects, integrations, or localized versions may take longer. Leave enough time for planning, staging review, redirect testing, and post-launch monitoring.